- Step A
- Step B
- Step C
- Step D
What's going on with your deck?
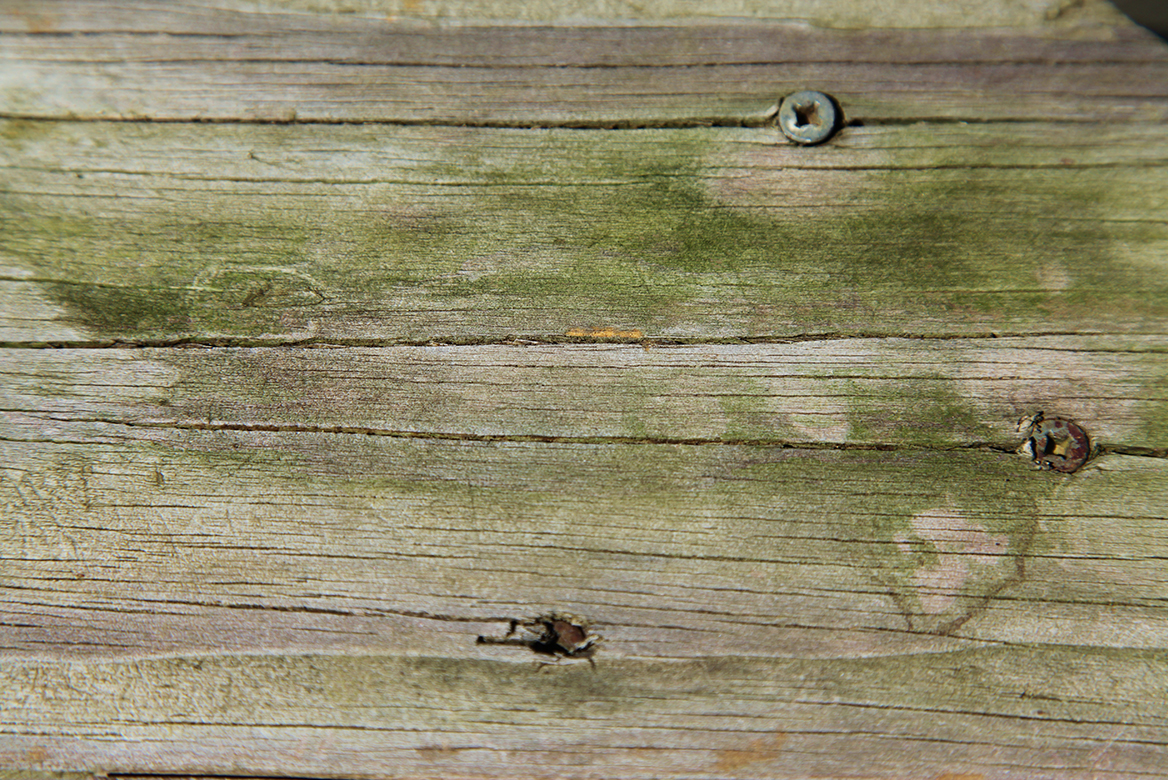
Is it gray with dirt and maybe mildew? Is there an old coating that is worn or peeling? Even if the wood looks pretty good, try the splash test. Just splash some water on a few boards and watch to see if it's rapidly absorbed. If it does, that means the wood is NOT protected from water damage and it's time to clean and seal your deck.
There are different formulas of deck cleaners based on the condition of your deck. One more thing to keep in mind when choosing a deck cleaner - is your deck made out of redwood or cedar? You'll want to pick a cleaner that won't dull the natural color of these woods.

Time to Measure
Next, get some measurements. Measure the length and width of your deck and multiply them together to get the square footage. That tells you how many gallons of deck stain to buy. Be sure you have extra stain for railings or built-ins, like benches. Depending on the size of your deck, you might also think about recruiting a friend or family member to help so the project goes that much faster.
Assess the Deck Boards
While measuring, look at your deck boards to see if any are rotting or badly cracked and need replacing. When you clean the rest of the deck, the older wood will become much lighter. Then if you use a deck stain, you can get a fairly uniform color for the old and new boards.
Speaking of Stain
Take a few minutes to look around your outdoor space. If you have railings, you might think about staining them a different color than the deck boards. Or you might want to create a pattern on your deck using stain. This is a good time to start thinking about the final look.
Round Up Tools and Products
Here are the tools and products most commonly used for a deck staining project. All of these items are readily available at any home improvement store.
Personally, we don't recommend a power washer unless you know how to use one. You can actually damage the wood if the pressure is too high. Even if you use a power washer, begin with a ready-to-use deck cleaner and use the power washer for extra rinsing muscle, keeping it at 1,200 - 1,500 PSI.
Choosing a Deck Cleaner
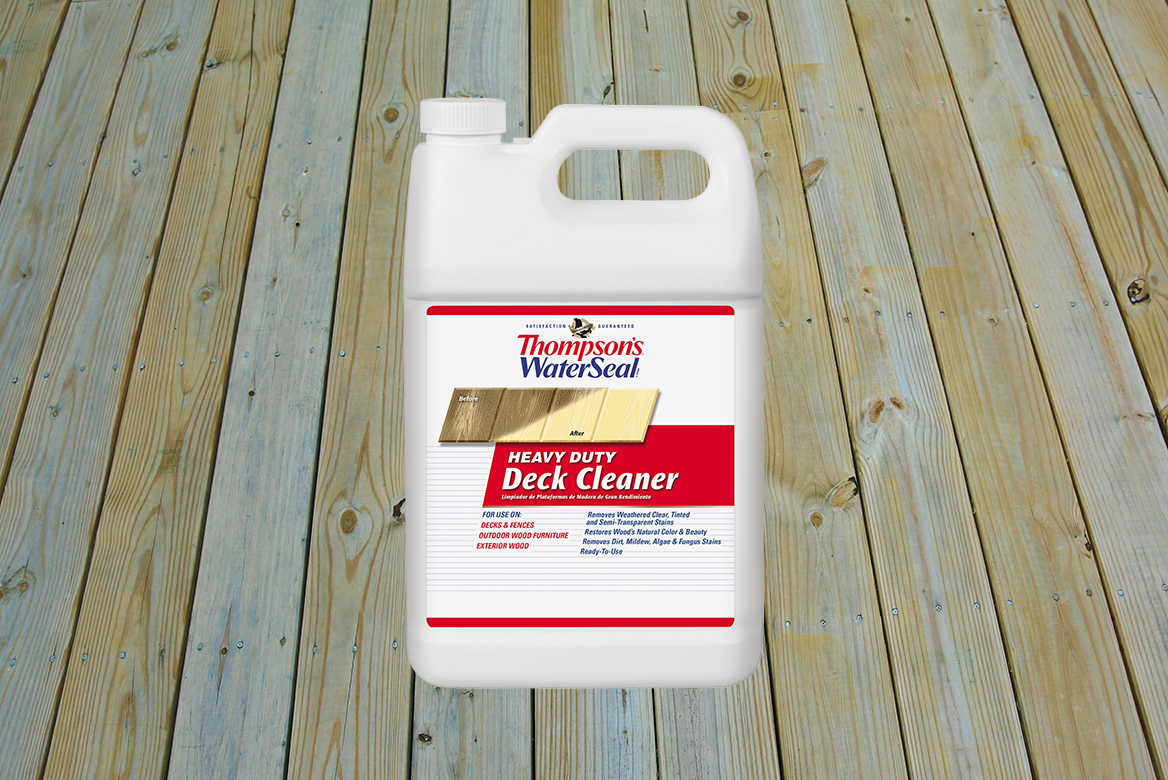
Remember when we "assessed" what was on the deck? That will guide you in choosing a deck cleaner. If there is dirt and stains from mildew but no coating, then an exterior cleaner like Thompson’s WaterSeal Heavy Duty Deck Cleaner will work on any type of wood.
If there is an old peeling coating, Thompson's® WaterSeal® Maximum Strength Deck Stripper is the strongest option and will remove it - even a solid stain.

Tools for Staining
Here are the additional tools you will need for your deck staining project:
Painter's Tape - tape off any areas of the house that are right up against the deck
Paint Pad - this will go on the end of the same pole used for scrubbing the deck
Brush - for railings or tight areas
Paint Pan - to hold the stain
Many deck stains clean up with soap and water, but check the label instructions and pick up paint thinner for clean-up, if needed.
And of course ...
A waterproofing coating. Thompson's® WaterSeal® offers several choices, from a clear waterproofer to a solid deck stain. A clear waterproofer does not change the wood's natural color. A transparent stain adds a hint of color and shows the most wood grain. A semi-transparent stain adds medium color and shows medium wood grain. A solid stain adds the most color and shows the least wood grain. Thompson's® WaterSeal® Waterproofing Stains combine stain and sealer in one - there's no need for an additional sealer or protective coating over the stain.
Selecting the Perfect Color
It's a matter of personal choice if you want a light or dark shade of deck stain, but we like to suggest that you try to contrast with the color of your house. If your siding is light-colored, it will look great with a darker shade of deck stain.
Applying the Stain
You can use a roller or a brush to apply deck coatings, but we recommend the pad on the long pole. This keeps you from getting down on your hands and knees. Some - not all - deck coatings can be sprayed on, but if you use a sprayer, be sure to go back over the deck stain with a paint pad, brush or roller to work it into the wood and help keep the color uniform.
DON'T FORGET TO READ THE INSTRUCTIONS on your product! Not all products work exactly the same, so be sure to read and follow the instructions found on your can.
It's Time to Clean
This is the step where you get to take years of gray color, dirt and more off the deck. Applying the new deck stain to a clean surface helps ensure good penetration and adhesion so you don't have premature peeling and wear. And the finished deck will look much better.
First, if you have flowerbeds or landscaping right next to your deck, water thoroughly, then cover with the plastic drop cloths. If you do this, the deck cleaner won't affect the plants.
Clear the deck of all furniture and get ready to start!
Applying the Cleaner
Most deck cleaners can be applied using a pump-up sprayer. Just unscrew the cap, pour in your cleaner, put the cap back on and pump until the pressure is built up. But, remember to read and follow the package instructions. If you're using a deck stripper, it cannot be applied with a sprayer, it must be applied with a watering can.
Whether you're using a deck cleaner or a deck stripper, the application is the same. Don't try to do the whole deck at once. Start working in a small area (about 50-70 sq. ft.) and complete the whole deck cleaning process there before moving on.

Begin Lightly Scrubbing
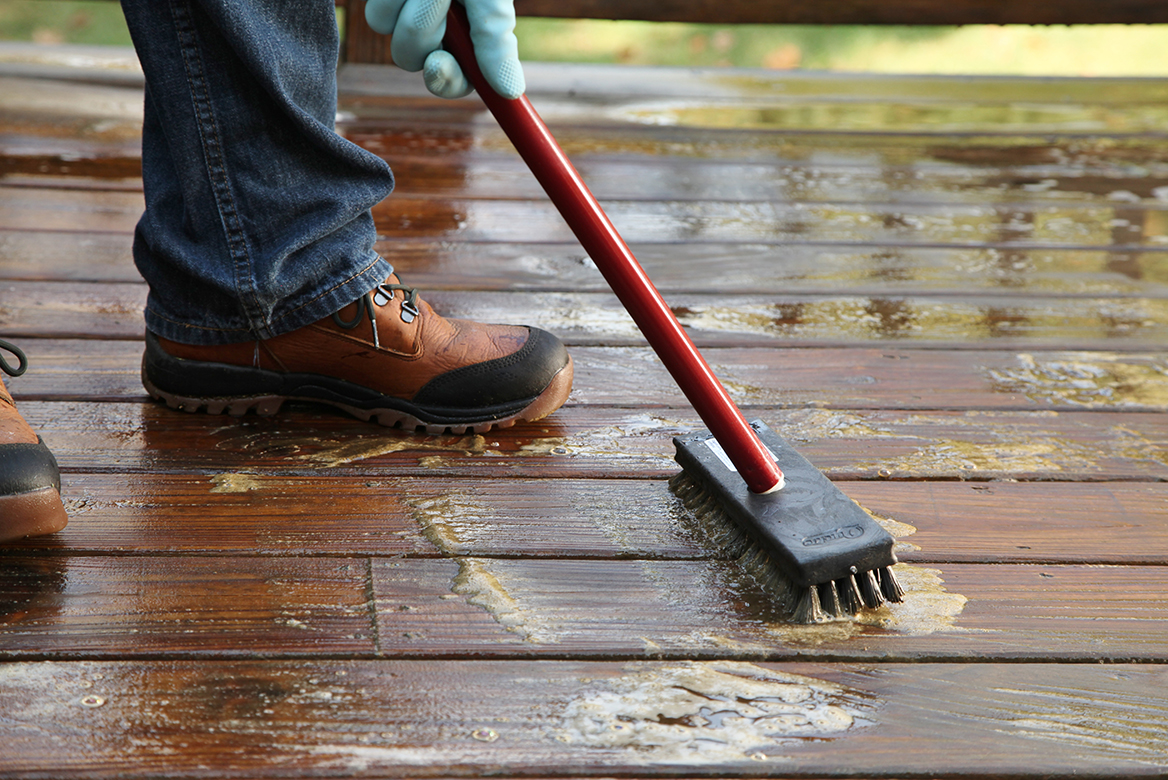
Wait 10-15 minutes, then begin lightly scrubbing the boards, working your way down. You don't have to scrub hard, but be thorough. When the cleaning is done well, staining the deck goes really quickly. When each section is done, rinse well and move on to the next section. If you can get a friend or family member to work on the other end of the deck at the same time, the job goes much faster.
Don't forget to check the railings to see if they need to be cleaned and re-stained, as well.
Using a Deck Stripper
Now if you have used a deck stripper, there may be an additional step. Because the deck stripper has an alkaline base, it can darken the natural color of some woods. So you will need to neutralize it with a wood brightener. This will brighten the wood back to its natural look or color. Apply just as you would if you were cleaning, but only a light scrub and a good rinse is needed.
Check Your Work
Give the deck several hours to dry then check it for any missed spots. Repeat the cleaning procedure in small spots, if necessary. This is also a good time to reset any screws or nail heads that have popped up to avoid stub toes. Remove the plastic drop cloths from the plants, give them another watering, then rinse out your tools.
Create the Look of Your Outdoor Living Room
The last step is the most fun of all - it's where you get to begin creating the look of your outdoor deck. Remember you have options. Thompson’s® WaterSeal® Clear Wood Sealer doesn't change the color of the wood. Transparent Wood Sealer adds a hint of color and shows the most wood grain. Semi-transparent Wood Sealer adds medium color and shows medium wood grain. Solid Color Wood Sealer adds the most color and shows the least wood grain.
Don't Forget to Read the Label
Again, read the label directions one more time before you get started. The label will give you weather guidelines, such as recommended outdoor temperature for application. It's also a good idea to avoid windy and rainy days.
Also, check the label for the recommended waiting time between deck cleaning and staining. Thompson’s® WaterSeal® Wood Sealers can be applied to damp wood, so you only have to wait about two hours to begin applying stain. Some of our other products require that the wood dry for 48 hours before applying a deck coating.
Almost Time to Stain
Last step - put painter's tape along any areas where the deck is right up against the house to avoid getting stain on your brick or siding.
The color of the wood can actually affect the look of some stains, so definitely test the stain in an inconspicuous corner of the deck or on scrap lumber to ensure you like the color. If it looks good, go ahead and get started!
If you have railings, you should start with them first. You won't want to walk on the main deck for a few hours after it's stained.
Applying the Stain
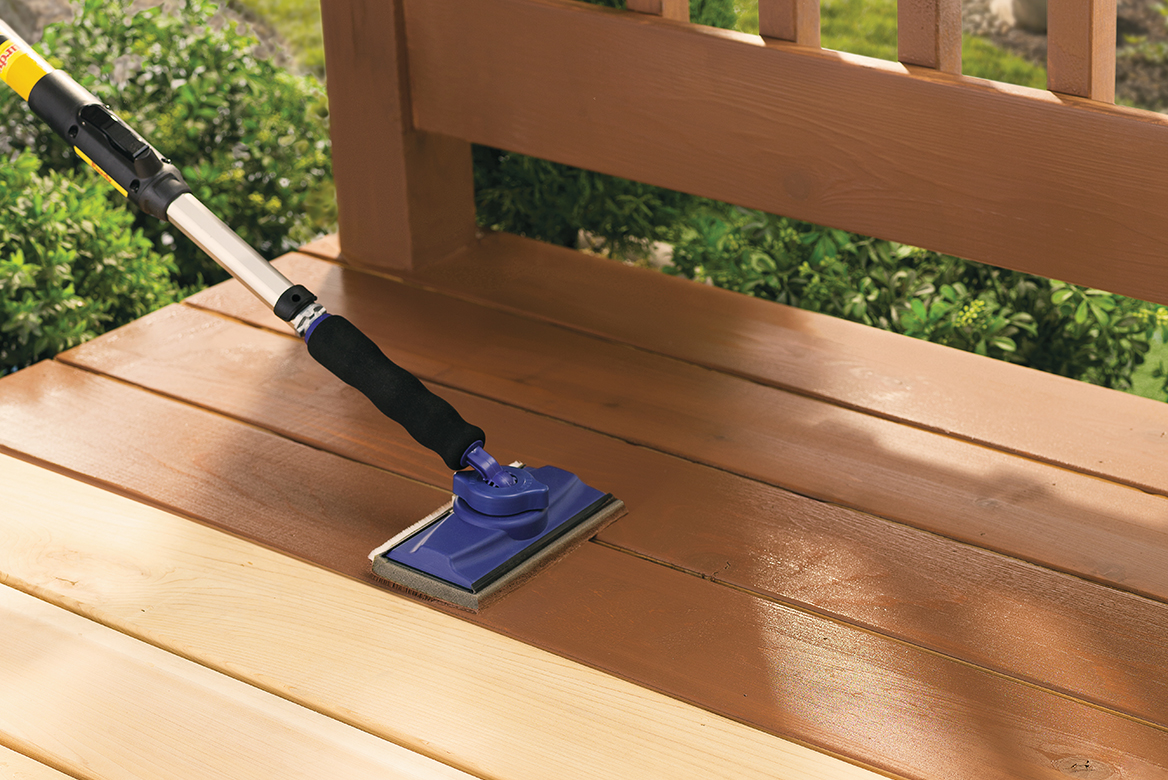
When you're ready for the main deck, dip the paint pad into the stain and squeeze out the excess by pressing it against the top edge of the pan. Start applying the stain to just a few boards at a time. Don't put it on too thick. One thin, even coat does the job.
Keep working in small areas before moving on - this way, the leading edge of your stain stays wet, avoiding lap marks when the stain dries. It's okay to go back over your work and catch any spots you missed and to be sure the stain is worked into the wood.
It's exciting to see the change taking place right in front of your eyes!

Some Other Things to Note
Usually your deck boards are close enough together that you don't need to worry about getting in between them - but if they are further apart, you can take a paint brush and smooth any stain that goes down the sides.
Also, if the bottom of your deck is accessible, you can apply a coat of stain to it. Staining all exposed wood gives your deck maximum protection.
You're Almost There
Don't be surprised if it's actually faster to stain the deck than to clean it. Just keep adding more stain as you need it and moving down the deck.
One coat is enough, but if more color is desired, a second coat can be applied within two hours before the first coat has dried.
Be sure to read the back label to understand how to properly clean your tools after application. Let the deck dry for at least 24 hours and you're ready to replace the furniture.
How Long Will Your Stain Last?
You may be wondering how long the stain will last. That's going to vary with the environment and how you use your deck, but the more pigment or coloring in a deck coating, the longer it will last. So a solid stain will last longer than a semi-transparent or transparent stain, but you give up seeing the natural wood grain. And a stain will last longer on a vertical surface, like a fence vs. a horizontal surface, like a deck. Remember to perform the splash test to determine when you need to clean and seal again.
But Until Then ...
Enjoy the good times on your deck! Thompson’s® WaterSeal® will be working to protect your favorite outdoor space.
Remember - if you take things step by step, you can get a beautiful end result even on your first deck makeover!
There you have it—the ABCs and Ds of a deck makeover. Assess The Deck, Begin Gathering Tools, Clean and “Deck”orate. Four steps to beautiful deck—even if it's your first try!