PROTECTING WOOD
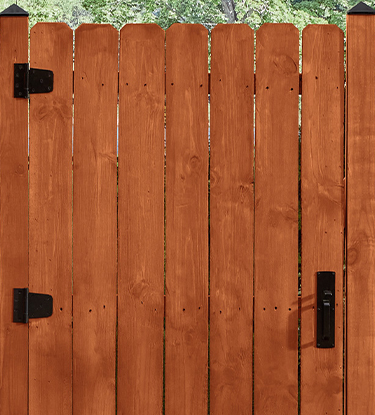
How to Stain a Fence
PROTECTING WOOD
How to Stain a Fence


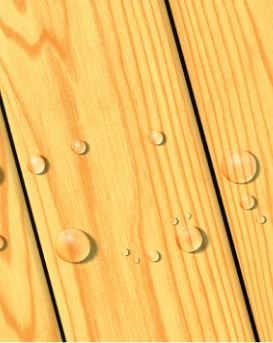
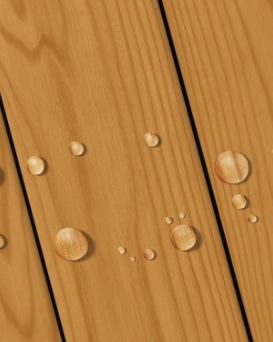
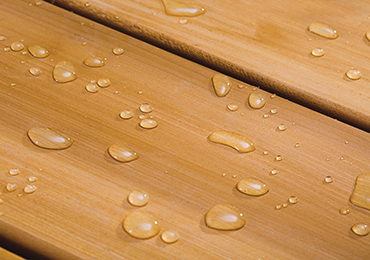
Transparency Options
Clear
Crystal-clear sealer maintains wood's natural color.
Transparent
Adds subtle color and shows the most wood grain.
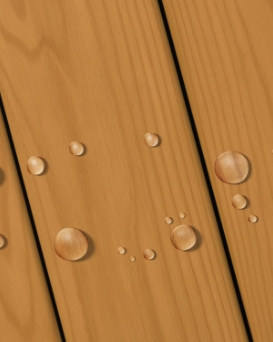
Semi-Transparent
Adds moderate color and shows medium wood grain.
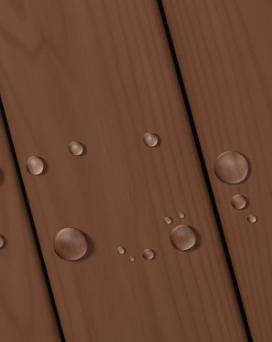
Solid
Adds the most color and shows the least wood grain.
How To's
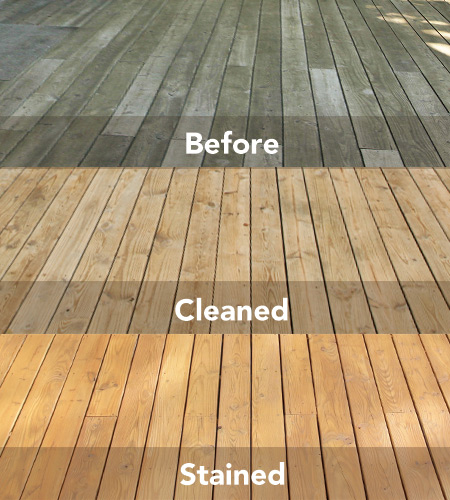
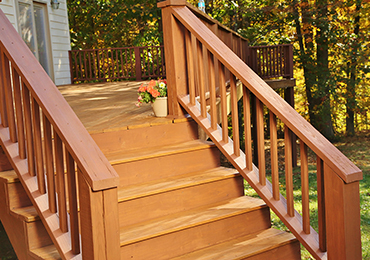
Protecting Wood
Make sure your deck gets the outdoor protection you want and the seal of approval it deserves.
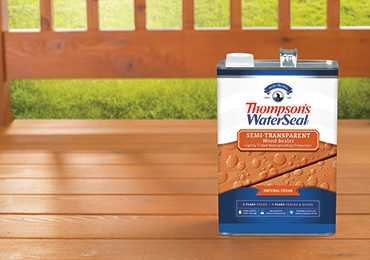
Picking the Right Products
On the fence about fence protection? We got you.
FAQs
We not only protect wood surfaces — but concrete, brick, masonry, and more.